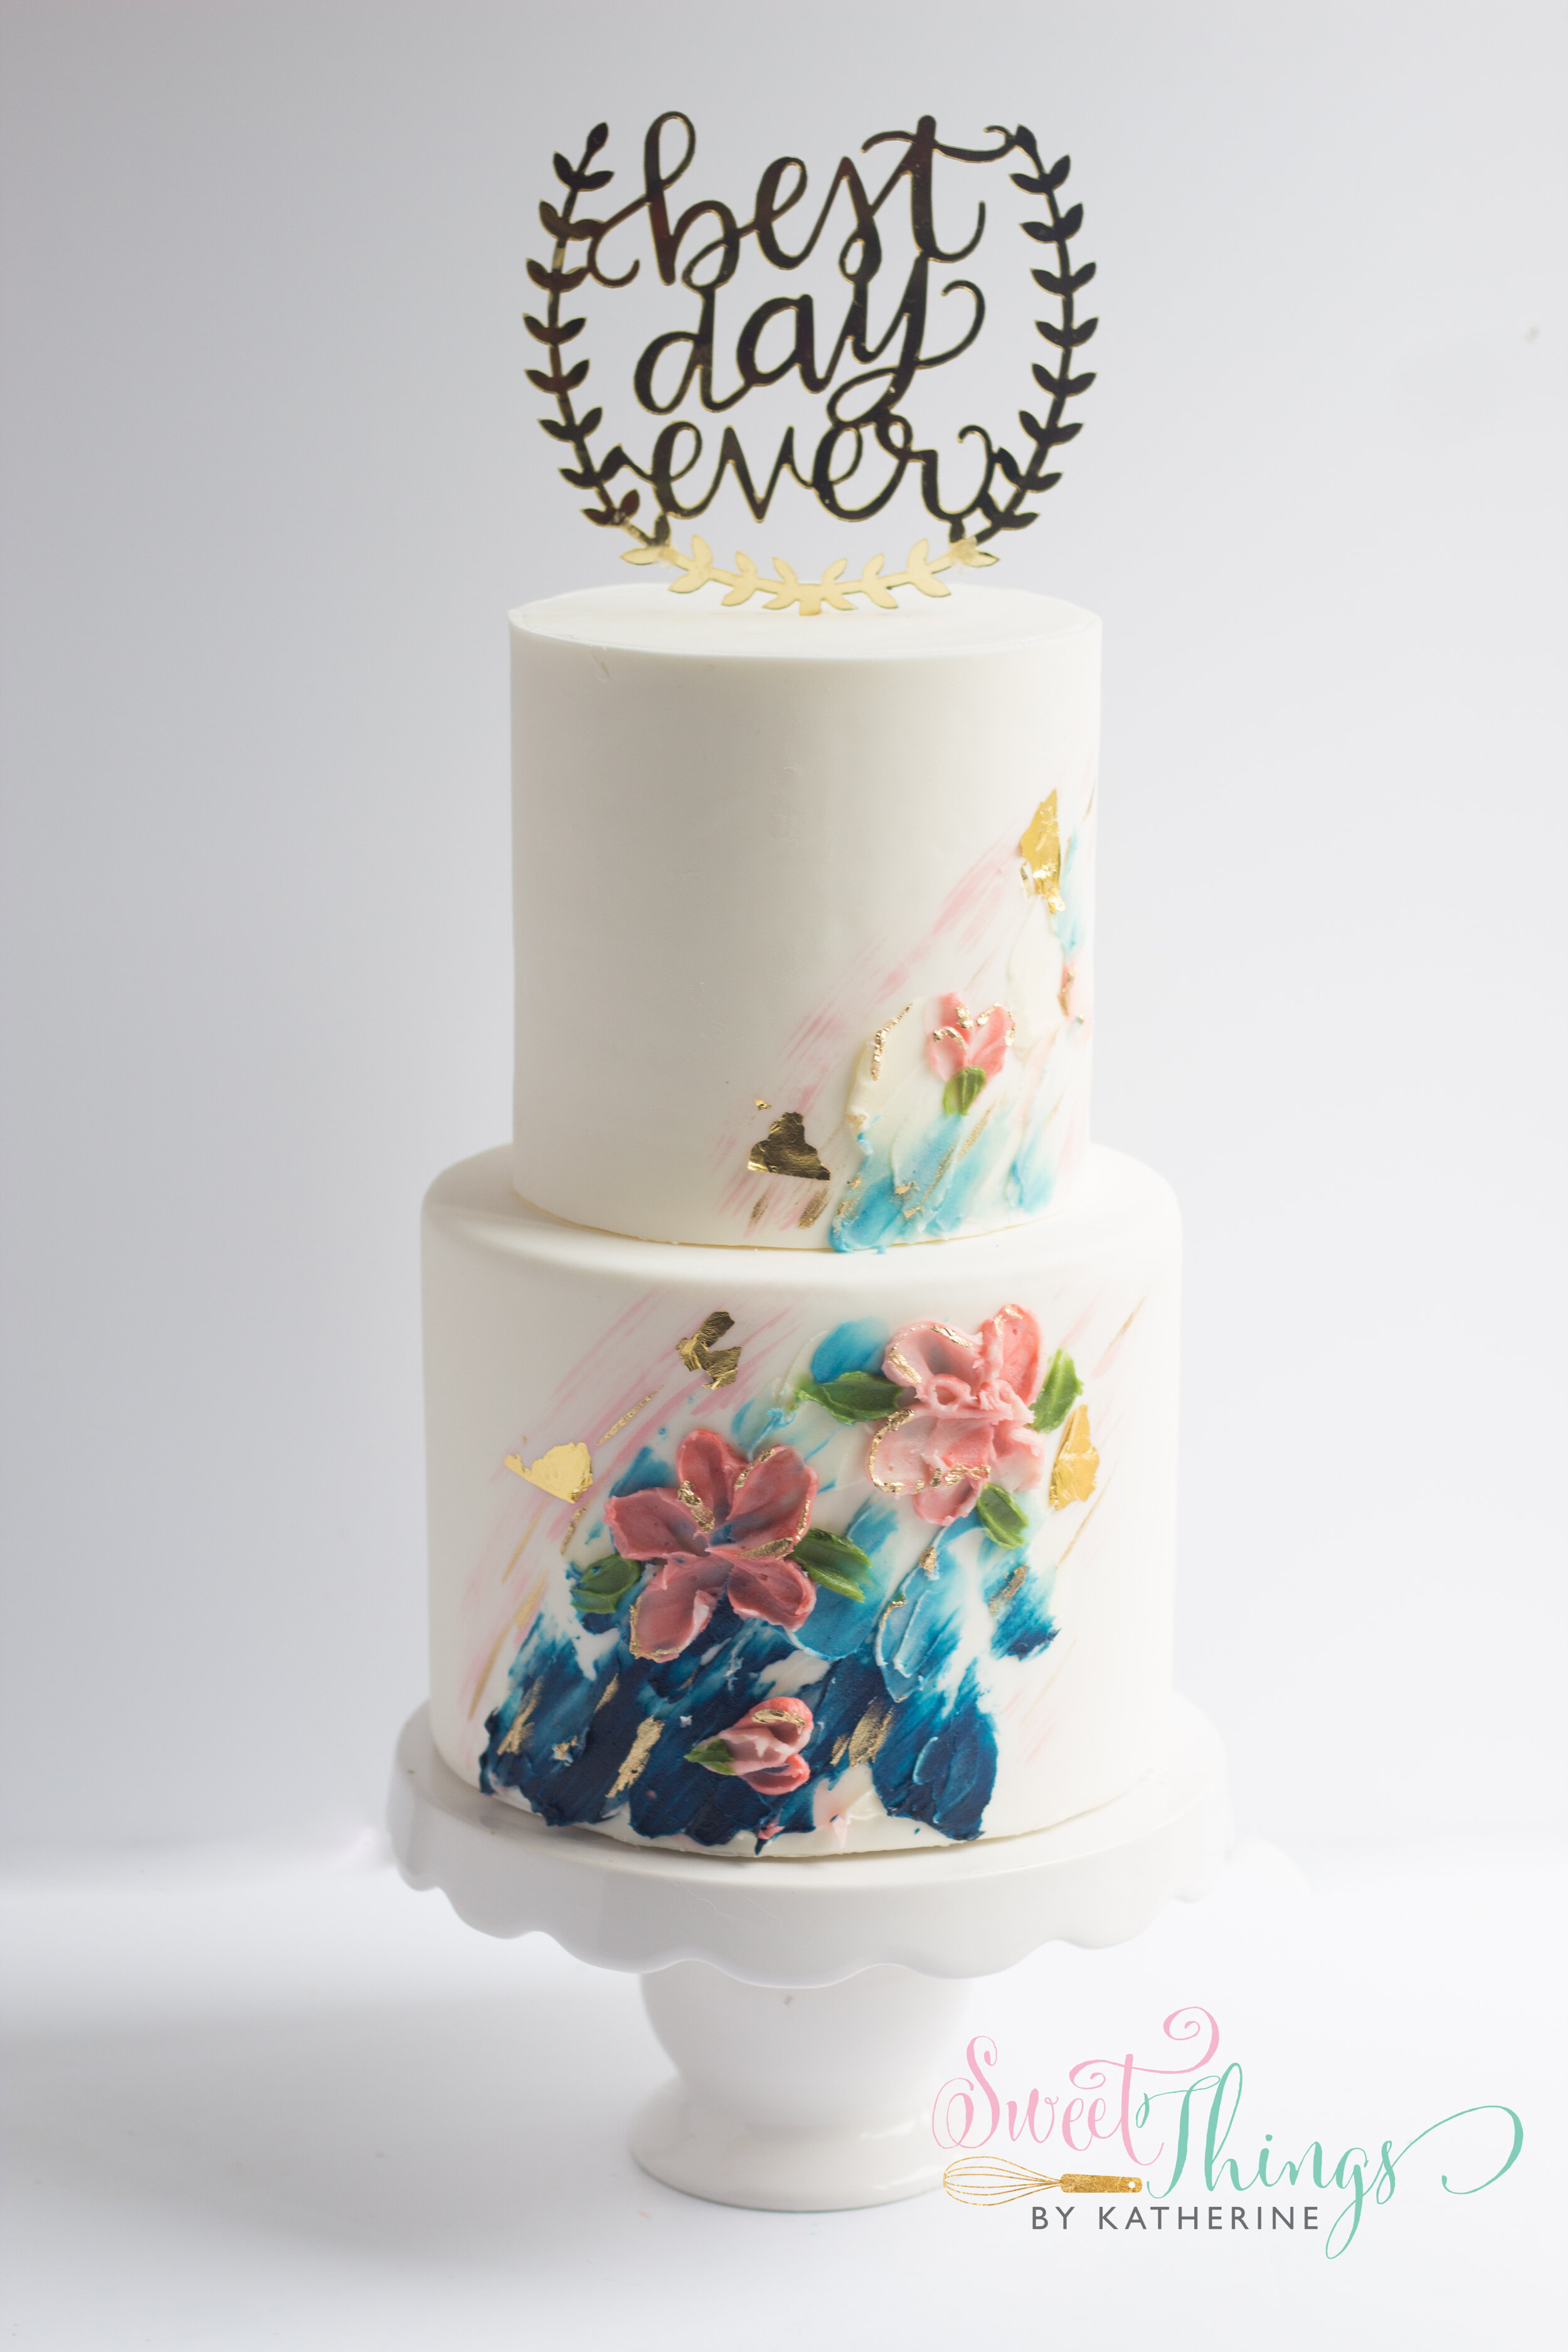
I should start by saying I have absolutely no formal photography training. Everything I know comes from YouTube videos, experience, and bugging the hell out of a few photography friends of mine. I know what I want when setting up a shot, but the execution sometimes leaves little to be desired. I still enjoy it so I've decided to share some of my tools and tips for cake photography.
When it comes to displaying pictures of my cakes and cookies on social media, I have learned there is absolutely no substitute for a good picture. It makes a world of difference. If a customer comes across your page and sees beautiful pictures of your work, they are more likely to purchase. A picture of a cake in your refrigerator or on top of your dining room table may not have the same effect. Presentation is key. I always try to allot myself enough time to not feel rushed to take a picture. It has actually become one of my favorite parts of the whole process.
The top picture was taken when I first started. I didn't even take them off the drying racks! The picture below Is more recent and makes way more of an impression. Can we just pretend the first picture never happened? Thanks.
Nowadays, the technology on some phone cameras is great, but you will always get a better picture with a good DSLR camera. The one I use is the Canon Rebel T5. It is a perfect beginner camera and is very easy to use once you play around with it a little. I found a lot of tutorials that I got lost in for hours. The lens it comes with is an OK lens, but pictures of cakes up close should be crisp in order to capture the details in all of their glory. I upgraded my lens to a Canon EF 50 mm f1.8 STM. It allows me to make more changes in the editing process without compromising the quality of the picture as much. It is NOT a zoom lens so you have to physically move closer to or farther from your subject. If you are using it for cake purposes, it's not a problem. Just don't knock over your cake. Here are the links to both the camera and lens I use:
Ok, so you have your camera and have played around with it, now where are you supposed to take your pictures? You've invested almost four hundred dollars on a camera and now you have to spend more on lighting or backdrops? Nope! The beauty of it is, all you need to make that picture really shine is the natural light coming into your house. In my case, my house is a cave or a dungeon of some sort so I have ZERO good lighting. Play with your camera and the lighting in your house to figure out what works for you. I realized the only good lighting in my house happened if I opened my front door.
It is nothing fancy but it gets the job done!
My set up does not include expensive spot lights or tall backdrops, I use two large foam core boards taped together into an L-shape and taped to my door so it doesn't fall on my cake! Since there is natural, bright light coming in through my front door on the right of my cake, the left side of my cakes tend to look dark. To offset this, I simply use another foam core board to reflect the light coming in. In total, this probably costs $15 at MOST.
This is not a cake, it's my cutie pa tootie daughter, Zoey as our model.
Here is the difference between using the extra board to reflect the light coming in through the door. Above, no reflector board. Below, we have a reflector board! Simple change makes a big difference.
Taking the picture is fun, but editing is where it all comes together. There are free apps that you can use. An example of one is called PicMonkey. It will allow you to make basic edits and will do the job just fine. Who doesn't like free? If you want to use something that can do a little more, Lightroom by Adobe is a fantastic editing program but requires a bit more of a financial commitment. I have never regretted spending the money on it. This is another subject you can search on YouTube and learn so much from.
You do not have to be a professional photographer to get people to notice your work. You simply have to take the time to learn it, even if its with your iPhone by some natural light. I am no stranger to an all nighter, finishing up a cake with little time left to do anything, much less take a picture. I always regret not taking a good picture which is why I have made it a priority in my hectic cake decorating world.


